Call Flows — the IVR builder
A call flow is how you turn "a call came in" into "the right person helped them." It's a visual script Orbit follows for every call — you drag blocks onto a canvas and connect them, no code.
What you'll build with it — real examples:
- Route by need: "Press 1 for Sales, 2 for Support" → send each to the right team.
- After-hours: outside business hours, play a "we're closed" message and offer a callback instead of ringing an empty floor.
- Take a payment safely: collect a card number with the recording masked (PCI).
- Screen outbound: on a campaign, only connect an agent when a human answers.
- Reusable pieces: build an "identify the caller" mini-flow once and reuse it across every flow (a module).
Why it's worth doing well: one flow change updates every call instantly; a good flow shortens queues, protects sensitive data, and frees agents from routing by hand.
Menu path: Routing → Call Flows.
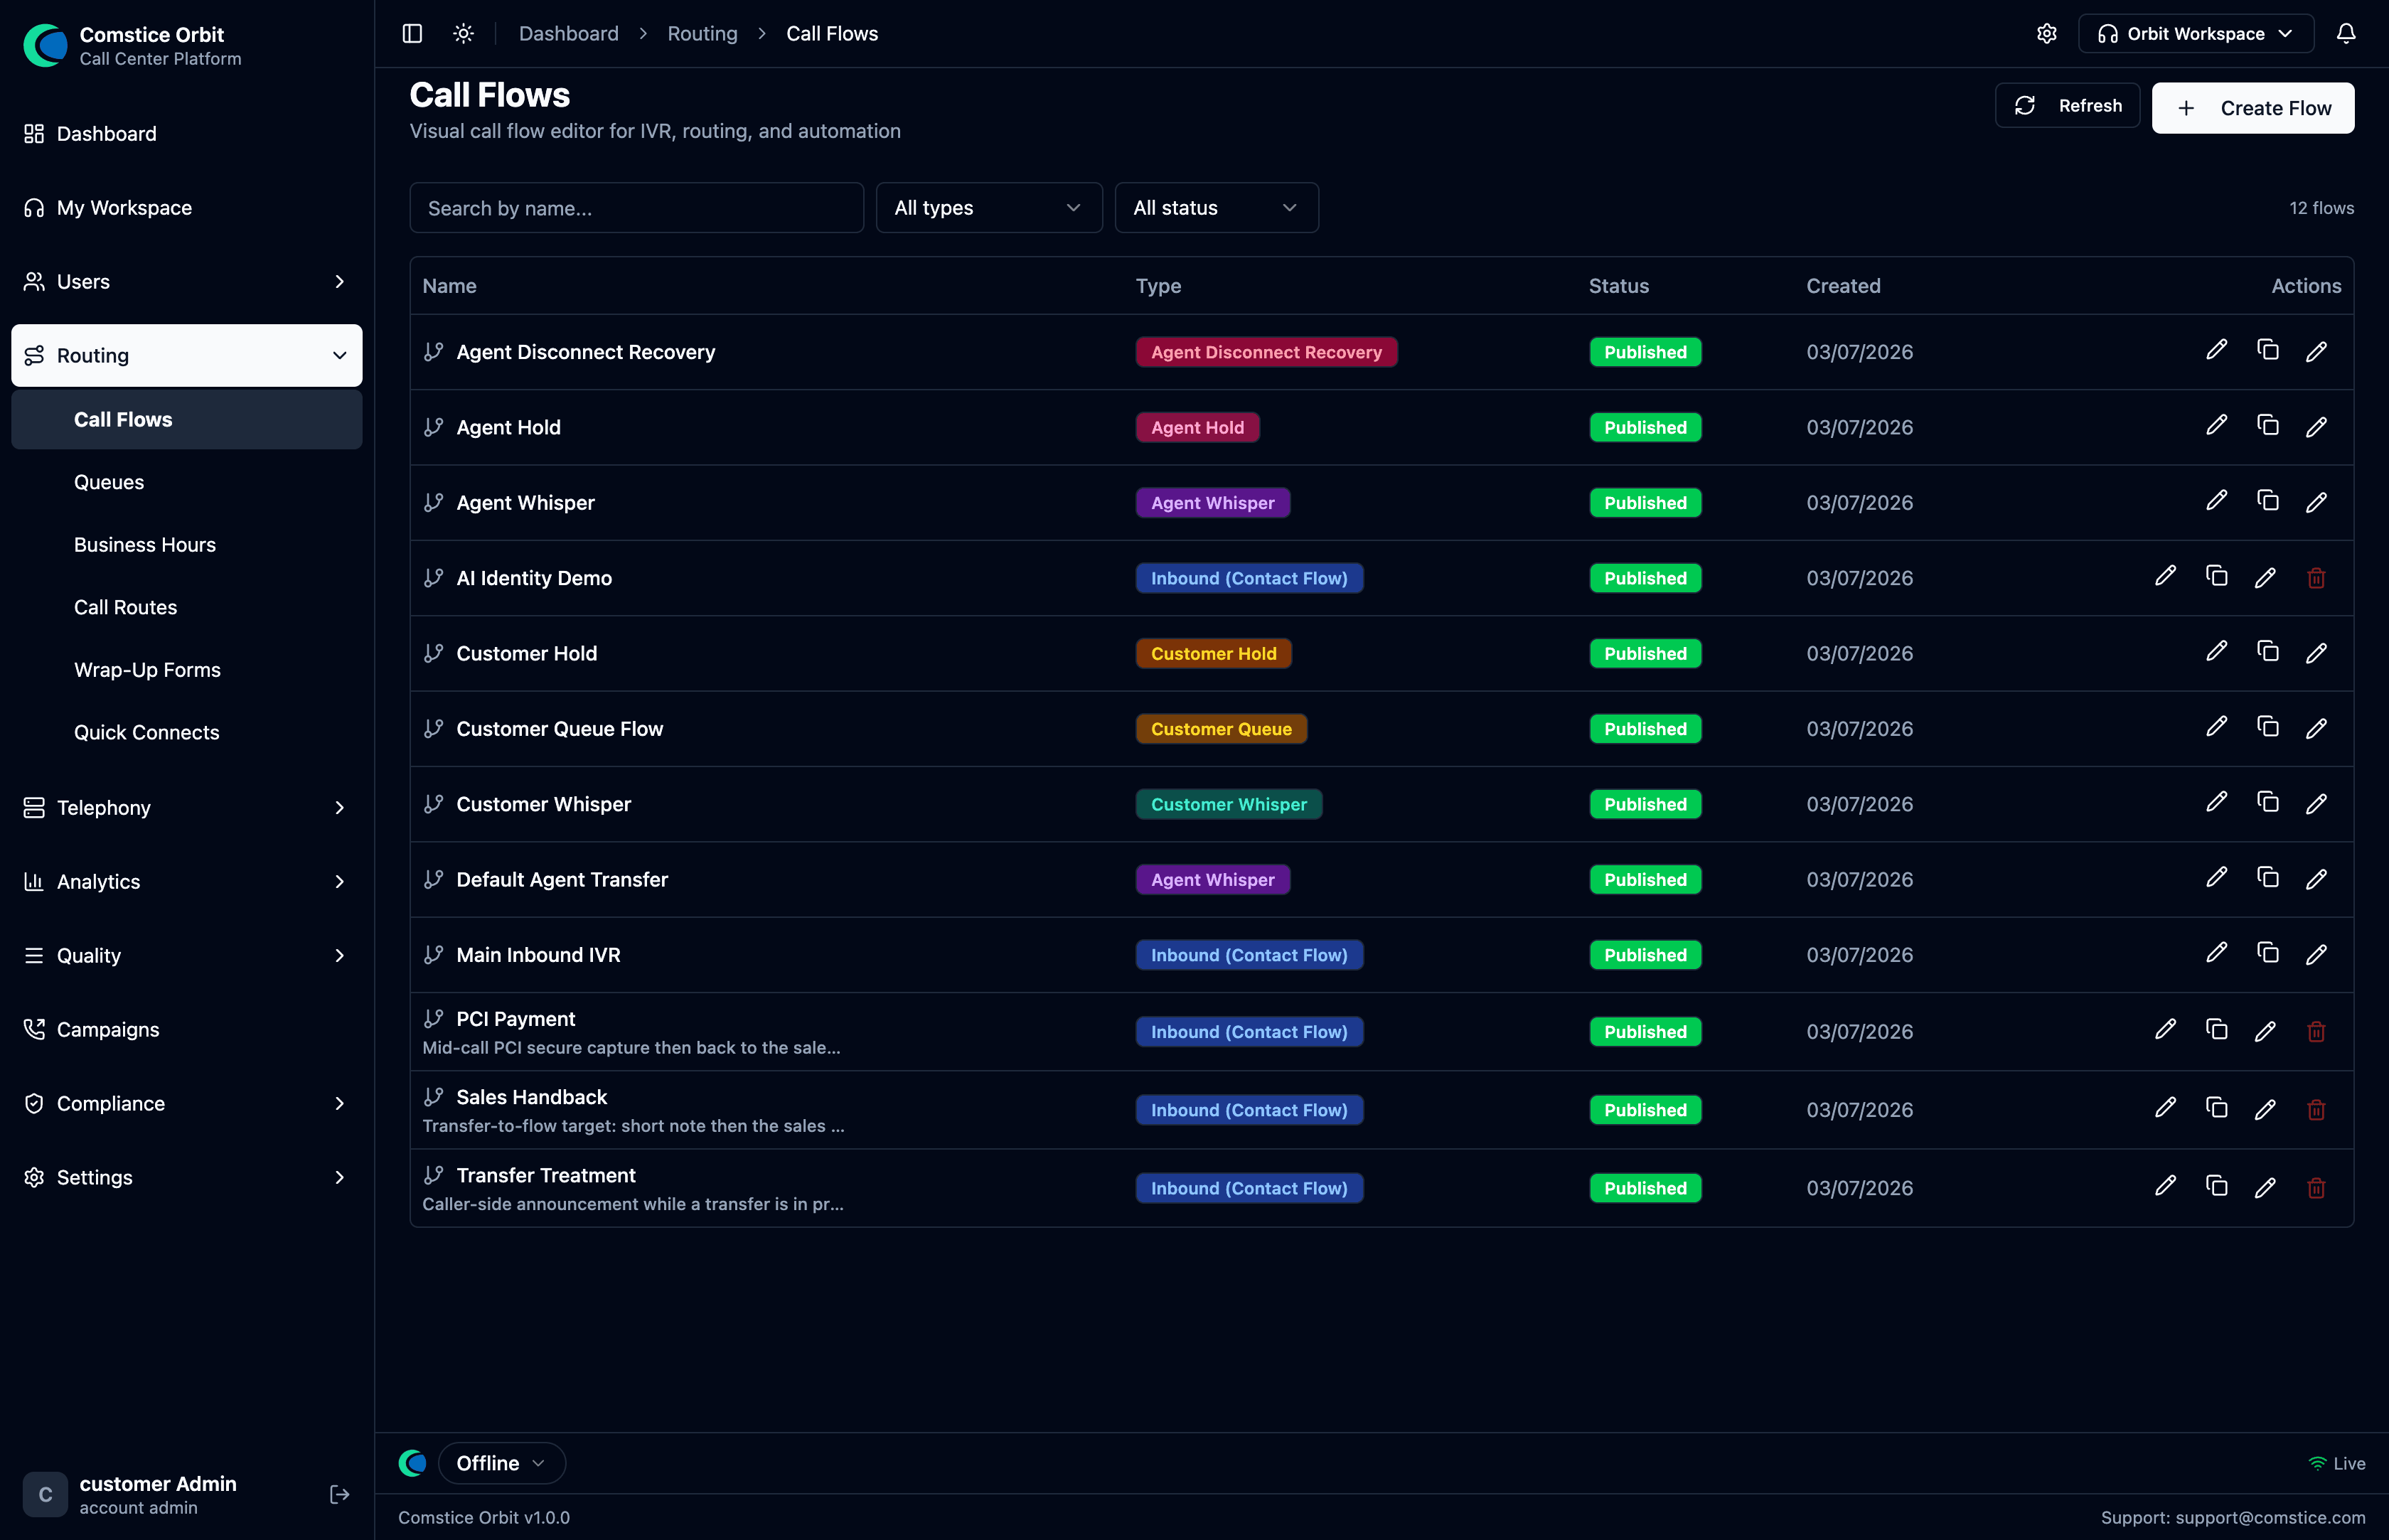 Each flow has a type and a published/draft status. The "Main Inbound IVR" is the entry flow.
1. Key ideas before you build
-
A flow is a graph. Each block has one or more outputs (e.g. Success, Error, timeout, Pressed 1, Pressed 2). You draw a line from an output to the next block. The call walks the graph from the Entry block, following whichever output matches what happened.
-
Flow types. A flow's type says when it runs. The most common is Inbound, but flows also power the experiences around a call:
Flow type Runs when… Inbound A call arrives from outside (the main IVR). Customer Queue A caller is waiting in a queue (music + position announcements). Customer Hold / Agent Hold Either party is put on hold. Customer Whisper / Agent Whisper Plays just before the two parties are connected. Agent Disconnect Recovery Runs if the agent drops, to recover the caller. Module A reusable mini-flow you can call from other flows. Pick the type first — and pick it rightA flow's type isn't just a label: it determines which blocks are even available on the palette (a Whisper flow doesn't offer Transfer to Queue, and so on). You can't convert an Inbound flow into a Queue flow later — you'd rebuild it from scratch. Choose the type deliberately when you create the flow.
-
Voice only. Orbit flows are voice — there are no chat/task/email flow types to worry about.
-
Publish to use. A flow is a draft until you publish it. A phone number (Telephony) points at a published flow. Publishing also creates a version you can roll back to if a change misbehaves.
2. The editor
Open a flow (or Create Flow) to land in the visual editor.
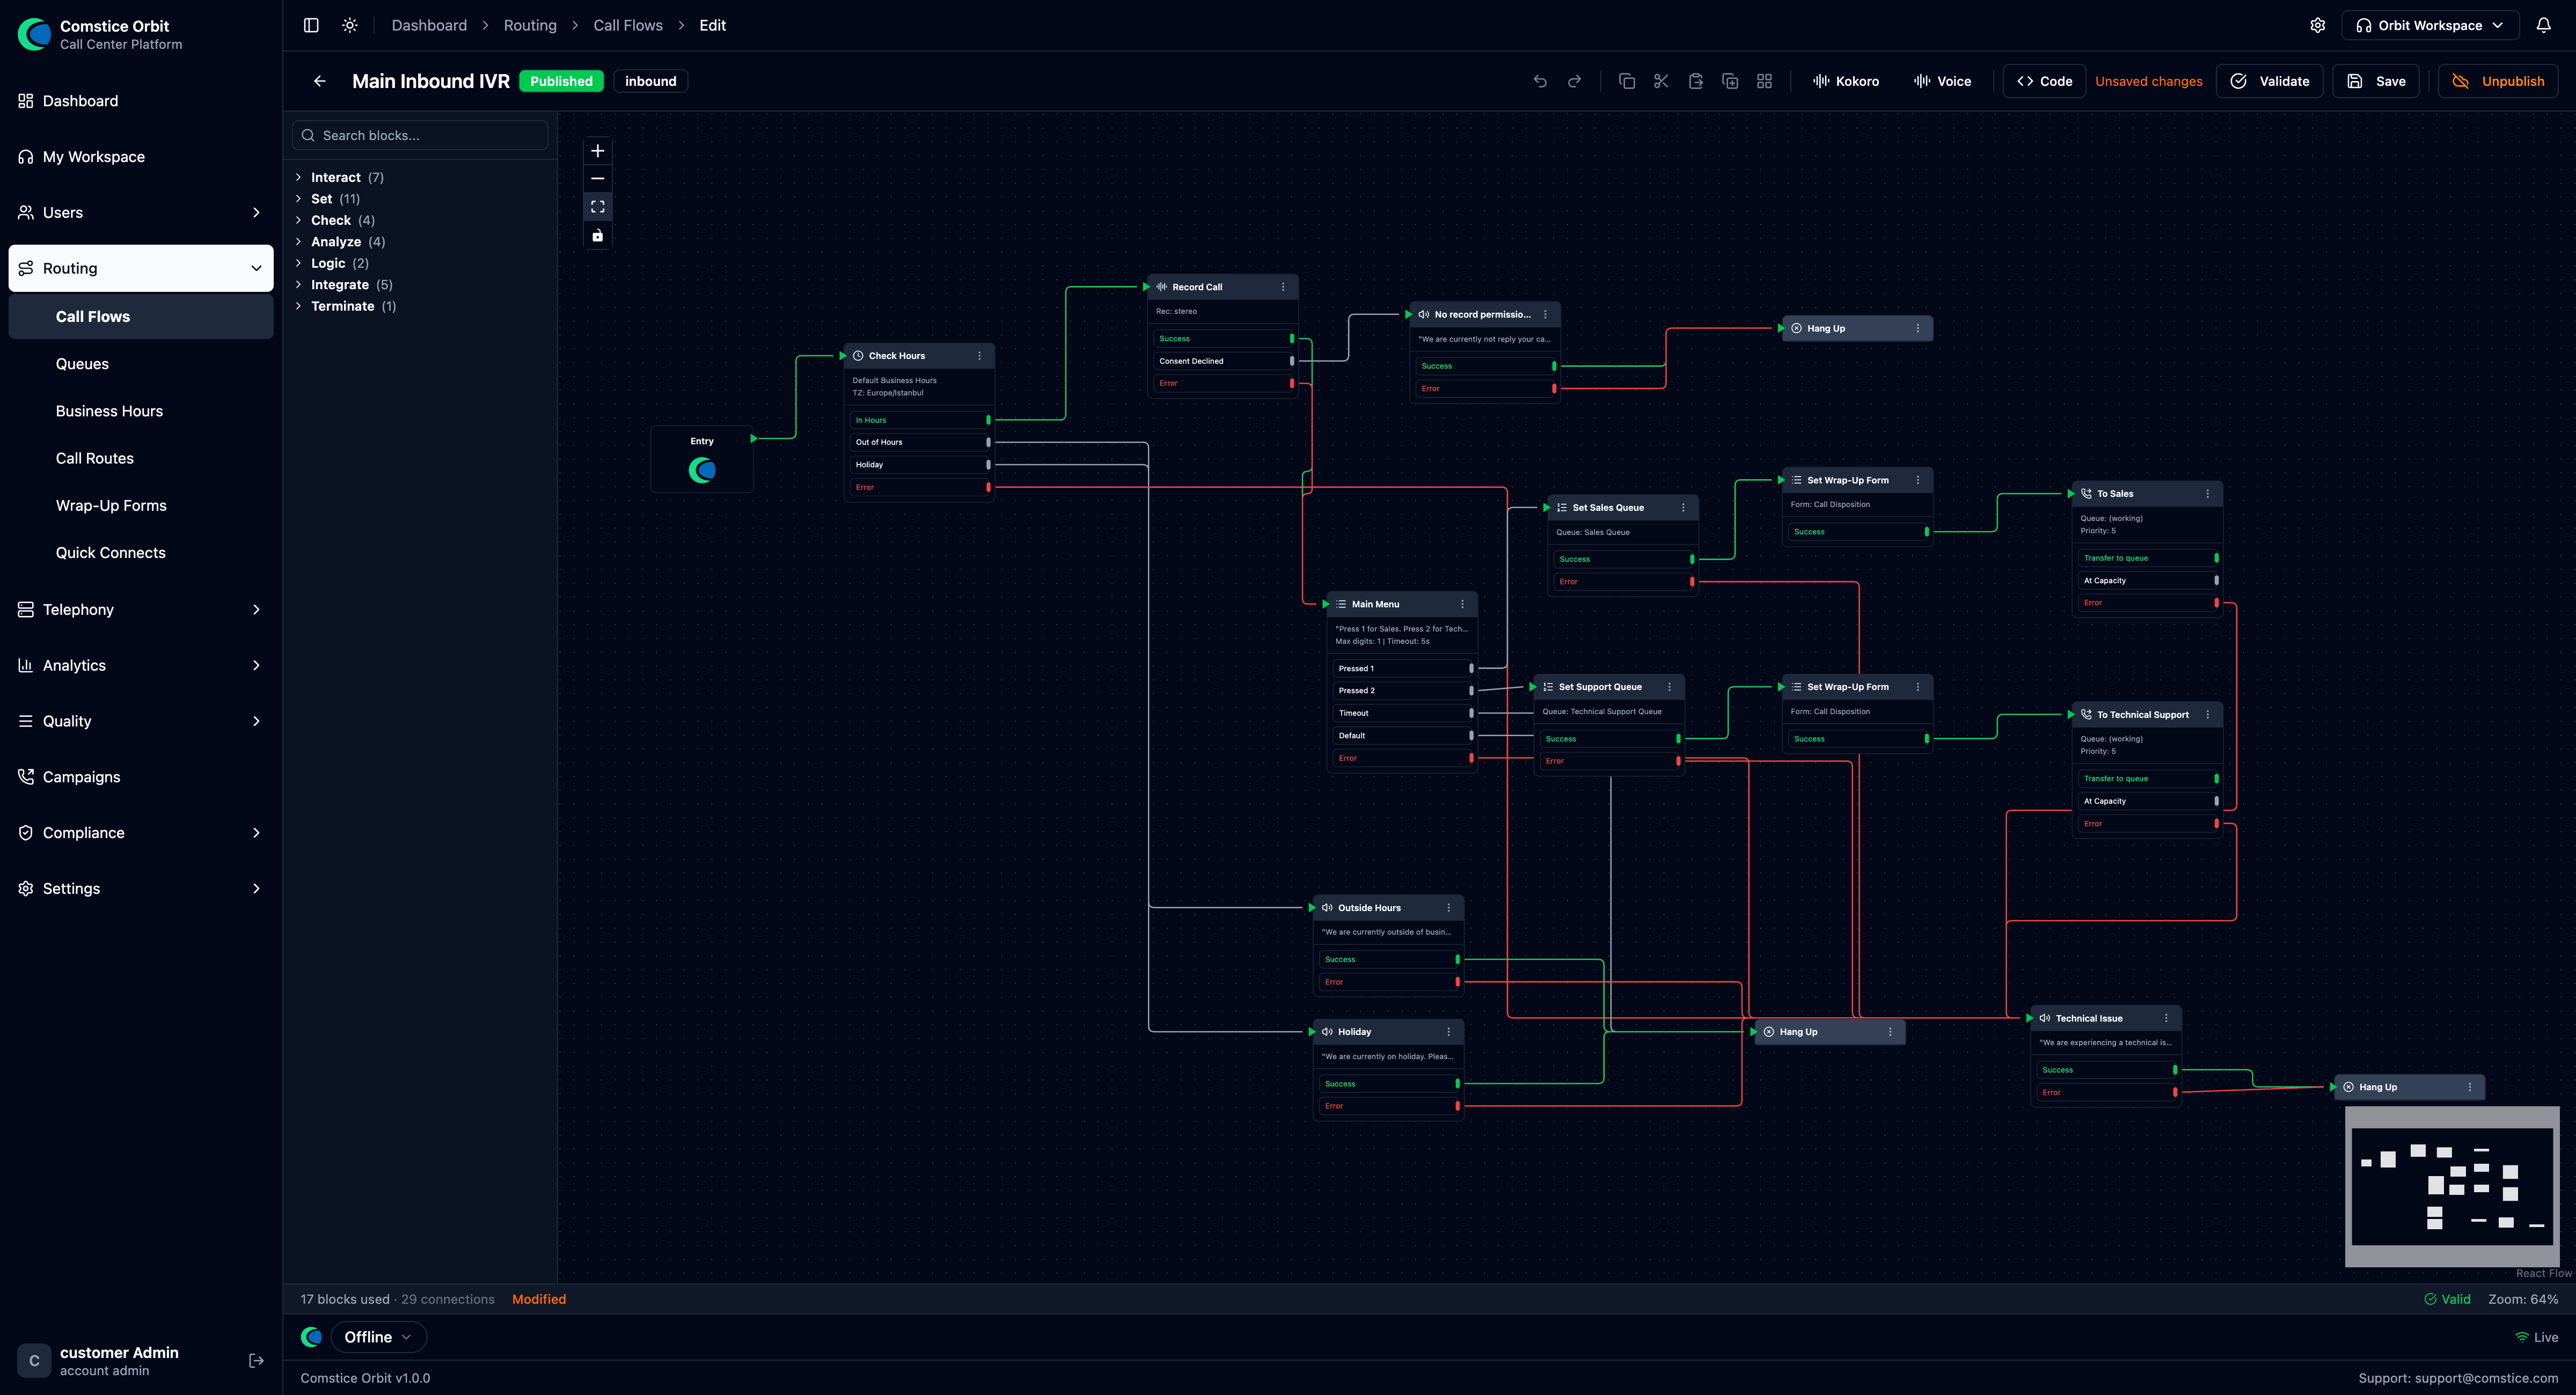 The drag-and-drop editor: block palette on the left, canvas in the middle, a minimap bottom-right, and the property panel on the right when a block is selected.
The editor has five parts:
| Area | What it's for |
|---|---|
| Block palette (left) | Every block you can add, grouped into 7 categories (Interact, Set, Check, Analyze, Logic, Integrate, Terminate). Search by name at the top. |
| Canvas (center) | Drag blocks here and connect their outputs to the next block. Zoom/pan with the on-canvas + / − / fit / lock controls; a minimap (bottom-right) shows the whole flow. |
| Property panel (right) | Appears when you click a block — every setting for that block. This is where the real configuration happens (covered block-by-block below). |
| Toolbar (top) | The flow's name + type + published/draft badge, the editing and TTS controls, and the save/publish actions (detailed below). |
| Status bar (bottom) | Block count, connection count, validity (Valid / errors / warnings), and the current zoom level. |
The toolbar, left to right
| Control | What it does |
|---|---|
| ← Back | Return to the Call Flows list. Next to it: the flow name, a type badge (e.g. inbound), and a Published / Draft badge. |
| Undo / Redo | Step backward/forward through your edits. |
| Copy / Cut / Paste / Duplicate | Standard clipboard actions on the selected block(s). |
| Kokoro | The TTS engine used to speak prompts (the default local voice engine). |
| Voice | The voice used for spoken prompts (pick from the engine's voices). |
| Code | Open the flow's underlying JSON in a viewer. Use it to copy and share a flow (paste it to a colleague or into a ticket), review exactly what a block is configured to do, or diff two flows. It's the flow's portable, shareable source. |
| Unsaved changes | Appears when the canvas differs from the last save — a reminder to Save. |
| Validate | Check the flow for problems (unwired outputs, unreachable blocks, misconfigured fields) before publishing. |
| Save | Save your work as a draft (does not affect live calls). |
| Publish / Unpublish | Publish makes the flow live for calls (and creates a version you can roll back to); Unpublish takes it back to draft. |
How to build: drag a block from the palette onto the canvas → click it to open its property panel on the right → fill the settings → drag from one block's output handle to the next block's input → Validate → Save → Publish.
3. Common tasks
Quick recipes for the things you'll do most. Each starts from Routing → Call Flows.
Create a flow
- Routing → Call Flows → Create Flow.
- Name it and pick a type (usually Inbound). Pick the type carefully — you
can't change it later. Agree a naming convention up front (e.g.
Inbound – Main IVR,Queue – Sales); renaming a live flow is best avoided. - Drag blocks from the palette; connect each block's output handle to the next block.
- Validate → Save → Publish. Validate surfaces problems before you go live — unwired outputs, unreachable blocks, and misconfigured fields — so you can fix them. Wire every output (see §7): an output left unconnected simply dead-ends that branch of the call, which validation flags as a warning.
- Point a phone number at it in Telephony.
If your instance ships a "Main Inbound IVR" or sample flows, clone one and adapt it rather than starting empty — it's the fastest way to a working flow and you inherit sensible error/timeout wiring.
Build a "Press 1 / Press 2" menu
- Add Get Customer Input and write the prompt ("Press 1 for Sales, 2 for Support").
- Set Max Digits = 1.
- Under Digit Branches, add option 1 and option 2.
- Wire Pressed 1 → Set Working Queue: Sales → Transfer to Queue; Pressed 2 → Support.
- Wire Timeout / Default back to the menu prompt so bad input re-prompts.
Turn on recording + sentiment
- Add Set Recording & Analytics near the start of the flow.
- Toggle Record this call, pick Stereo, and choose Record Start (Call Start includes IVR/queue; Agent Connect is the conversation only).
- Enable Sentiment / Transcription (post-call and/or real-time) as needed.
Route after-hours
- Add Check Hours and pick a saved Business Hours schedule.
- Wire In Hours → your menu; Out of Hours / Holiday → a "we're closed" Play Prompt → Disconnect (or offer a callback).
Take a card number safely (PCI)
- Where you collect the card, use Secure Input (PCI) instead of Store Customer Input.
- The recording is masked automatically while the caller types — see §7 and Compliance.
4. Worked example — a complete inbound IVR
Goal: greet the caller, offer Sales/Support, route to the right queue, and after hours play a closed message. Here's the finished flow, then the steps to build it:
A complete inbound IVR as a connected graph — each block's outputs wired to the next.
- Entry → Check Hours.
- Check Hours Out of Hours / Holiday → Play Prompt ("We're closed…") → Disconnect.
- Check Hours In Hours → Set Recording & Analytics (turn on recording + sentiment) → Get Customer Input ("Press 1 for Sales, 2 for Support").
- Get Customer Input Pressed 1 → Set Working Queue: Sales → Transfer to Queue.
- Get Customer Input Pressed 2 → Set Working Queue: Support → Transfer to Queue.
- Get Customer Input Timeout / Default → loop back to the menu prompt.
- Validate → Save → Publish, then point a phone number at this flow in Telephony.
5. Block reference
Every block is below, grouped by palette category. Click any block on the canvas to open its property panel; the screenshots show the palette block and its properties panel, and the tables explain every field.
Every block has a Label — a free-text name shown on the block in the canvas (e.g. "Main Menu"). It's cosmetic; use it to keep large flows readable.
🗣️ Interact — talk to and listen to the caller
Play Prompt
Speak text (TTS) or play an audio file to the caller.

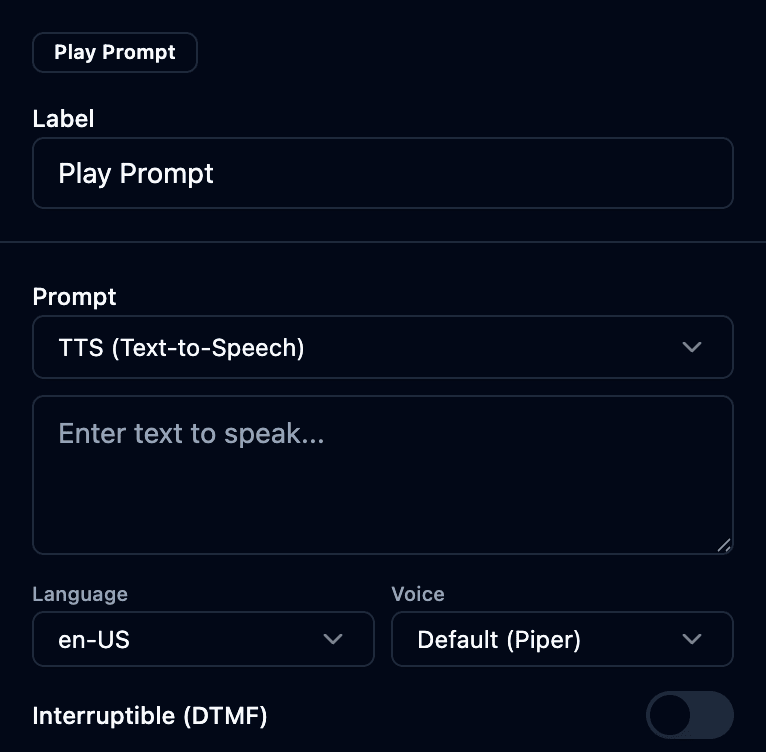
| Field | What it does |
|---|---|
| Prompt | Source of the audio — TTS (Text-to-Speech) (type the text) or a pre-recorded audio file. |
| Language | TTS language (e.g. en-US). |
| Voice | The TTS voice for the prompt. The editor's Kokoro / Voice toolbar sets the engine and available voices. |
| Interruptible (DTMF) | If on, a key press stops the prompt early. |
Get Customer Input
Ask a question and branch on the digit the caller presses (a DTMF menu).

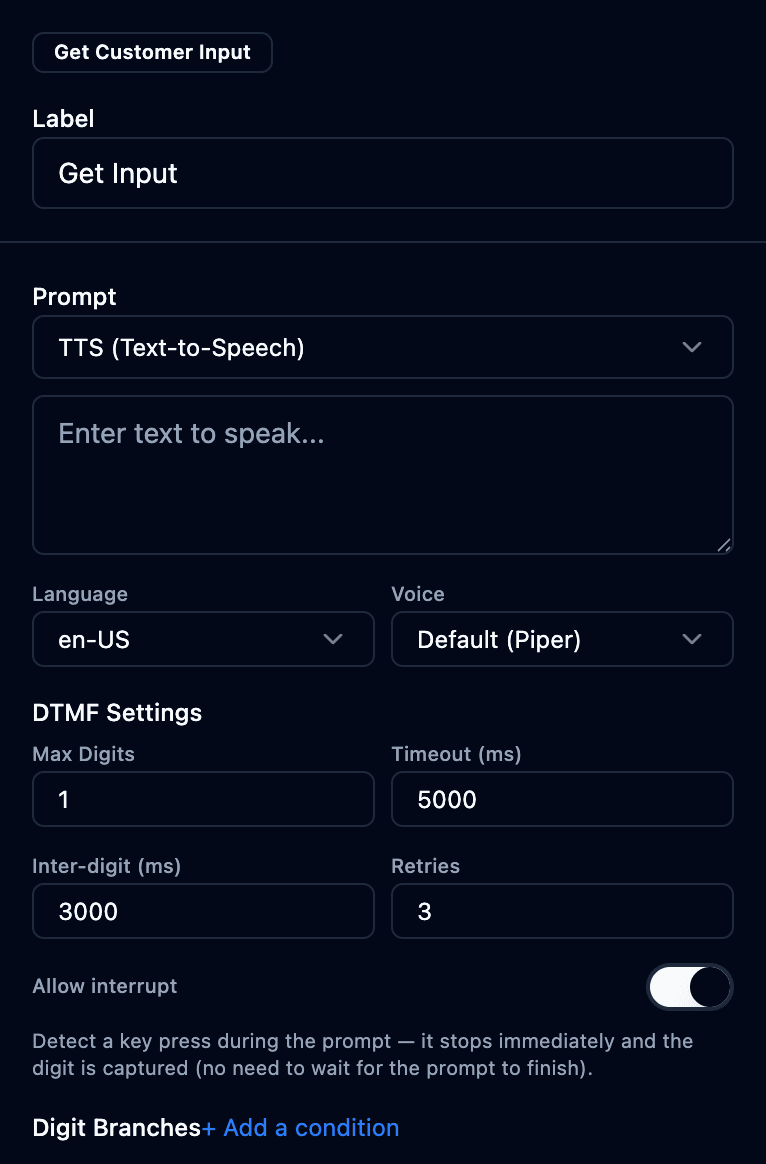
| Field | What it does |
|---|---|
| Prompt / Language / Voice | The question to play (TTS or file), as in Play Prompt. |
| Max Digits | How many digits to collect (1 for a single-key menu). |
| Timeout (ms) | How long to wait for the first digit before the Timeout branch fires. |
| Inter-digit (ms) | Max gap allowed between digits. |
| Retries | How many times to re-prompt on no/invalid input. |
| Allow interrupt | Capture a key press during the prompt (no need to wait for it to finish). |
| Digit Branches | One output per option (e.g. Pressed 1, Pressed 2). + Add a condition to add more. Plus automatic Timeout and Default outputs. |
Store Customer Input
Collect multiple digits (e.g. an account number) into a variable for later use.

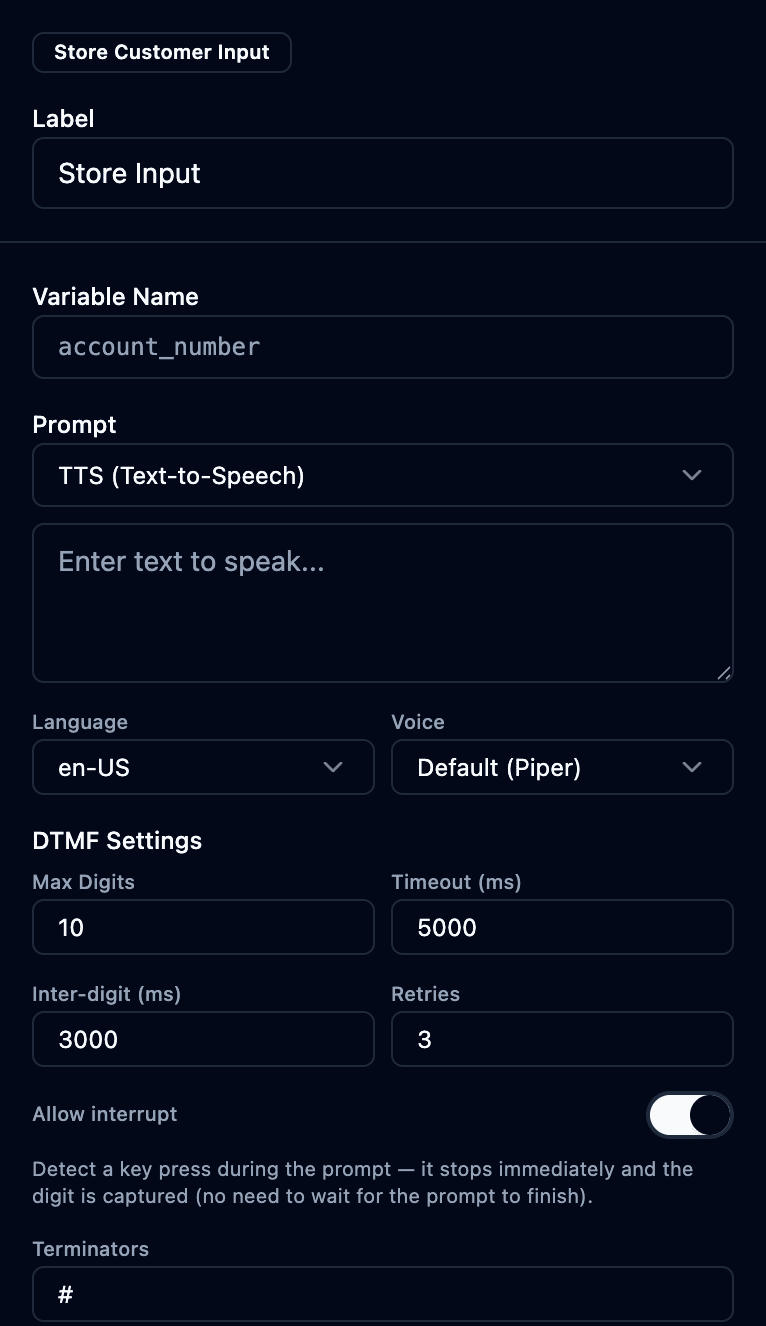
| Field | What it does |
|---|---|
| Variable Name | The variable the collected digits are stored in. |
| Prompt / Language / Voice | The prompt to play. |
| Max Digits / Timeout / Inter-digit / Retries | DTMF collection settings (as above). |
| Allow interrupt | Capture key presses during the prompt. |
| Terminators | Key(s) that end input early (e.g. #). |
Secure Input (PCI) — ✅ Available
Collect sensitive digits (e.g. a card number) without capturing them in the recording. While the caller enters the digits, the call recording is masked (muted), then resumes automatically afterward — so card data never reaches stored audio.
| Field | What it does |
|---|---|
| Variable Name | Where the collected digits are stored (for your payment integration). |
| Prompt / Max Digits / Terminators | As in Store Customer Input. |
This is the secure-DTMF capability that keeps card numbers out of recordings now. Broader automatic payment-pause/redaction is still being expanded — see Compliance.
Verify Identity — ✅ Available
Resolve the caller against your customer records — e.g. collect an account number (and optional PIN) and validate it. In connector mode the check runs against your own backend API, so Orbit never holds your customer database; it just asks your system "is this account + PIN valid?" A verified caller's identity then gates downstream data lookups (see the AI voice self-service in Getting Started).
| Field | What it does |
|---|---|
| Prompt(s) | What to play when collecting the account number / PIN. |
| Account / PIN input | The DTMF fields collected to identify the caller. |
| Validation source | Where the identity is checked — a connector (your backend API) or local records. |
| Outputs | Verified and Failed / Not found — branch accordingly. |
Capture Speech
Speak a prompt, then record the caller speaking and store the recognized transcript in a variable (speech-to-text). Use it for spoken answers instead of keypad input.
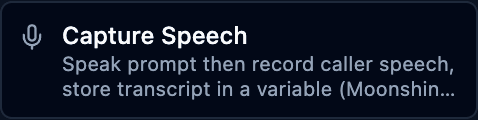
The Capture Speech block exists but its properties panel isn't implemented yet (it shows "Unknown node type"). Use it knowing configuration is minimal for now.
| Field | What it does |
|---|---|
| Label | Block name. |
| Prompt | What to ask before recording. |
| Variable | Where the recognized transcript is stored for later branching. |
Hold
Place the caller or agent on / off hold.

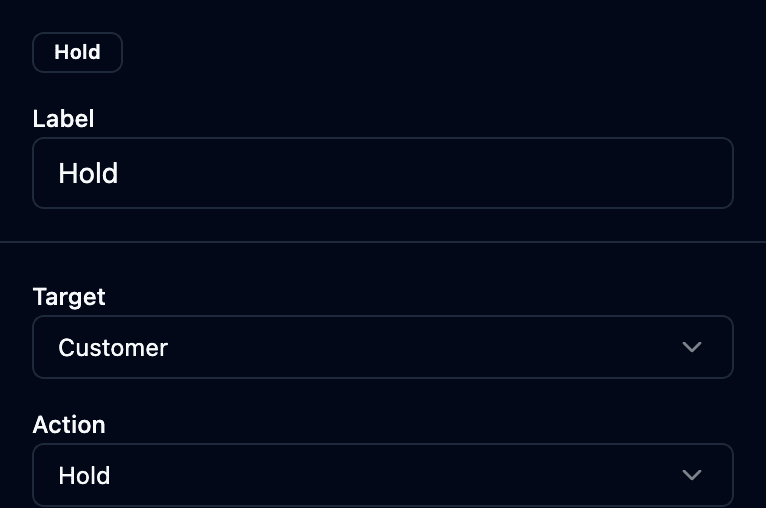
| Field | What it does |
|---|---|
| Target | Who to hold — Customer or agent. |
| Action | Hold or resume. |
⚙️ Set — configure the call
These blocks set state used by later blocks. The most important:
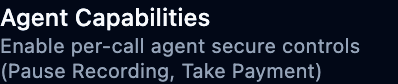
Agent Capabilities — ✅ Available
Enable per-call agent secure controls — the buttons an agent may use on this call. Turn on Pause Recording (so the agent can manually mask the recording during a sensitive moment) and/or Take Payment (agent-assisted card capture). Only the capabilities you enable here appear on the agent's softphone for the call.
| Field | What it does |
|---|---|
| Pause Recording | Lets the agent manually pause/resume recording on this call (PCI moments). |
| Take Payment | Lets the agent start an agent-assisted secure payment capture. |
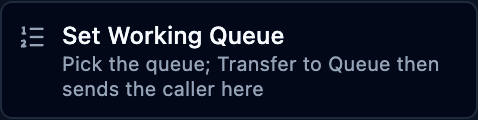
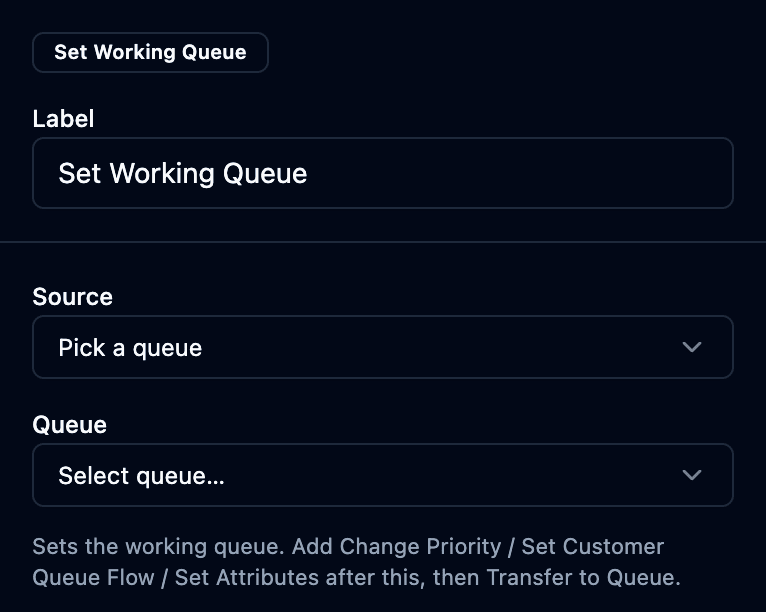
Set Working Queue
Choose which queue a later Transfer to Queue will use. (Shown on the canvas as e.g. "Set Sales Queue".)
| Field | What it does |
|---|---|
| Source | Where the queue comes from — pick a specific queue. |
| Queue | The queue to make "current"; Transfer to Queue then sends the caller here. |
Tip: add Change Priority / Set Queue Flow / Set Attributes after this, then Transfer to Queue.
Set Recording & Analytics
Turn on recording and AI analytics for the call. This one block controls recording, sentiment, and transcription — see Recordings & AI.
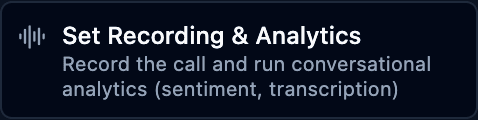
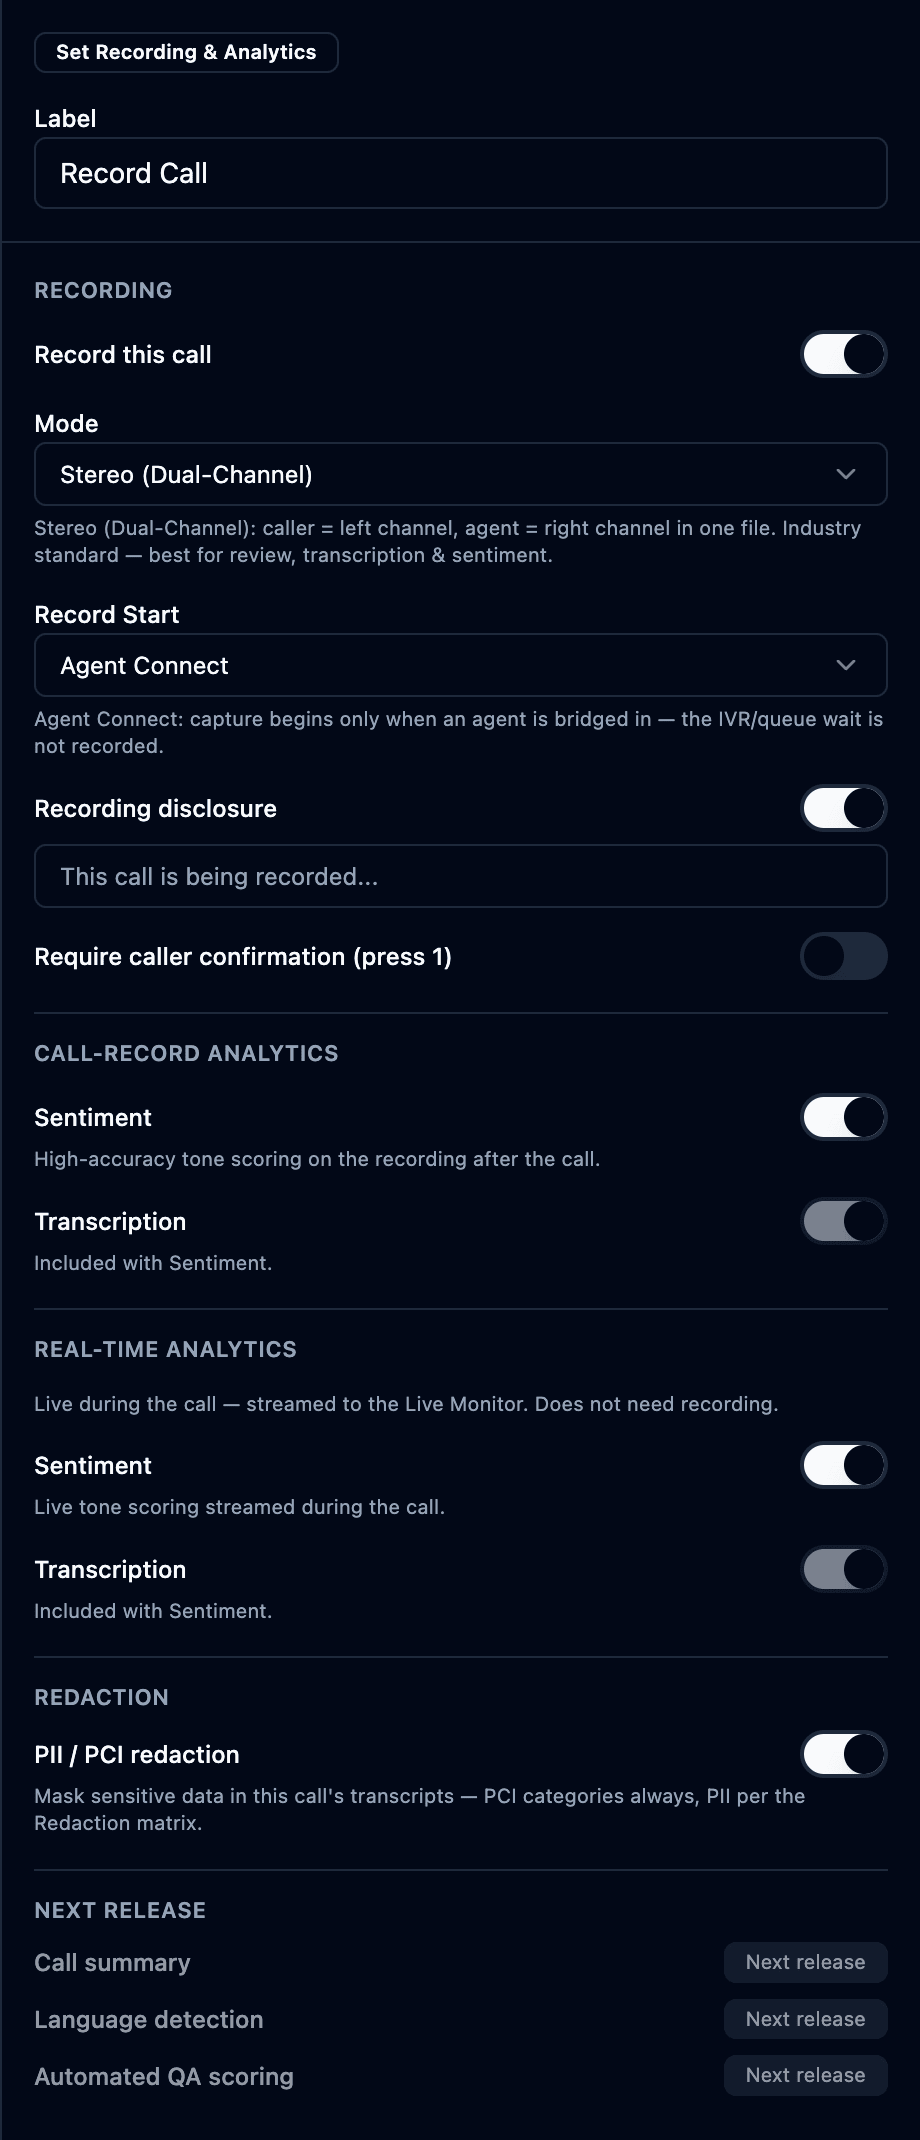
The panel is grouped into Recording, Call-record analytics, Real-time analytics, Redaction, and Next release:
| Section / Field | What it does |
|---|---|
| Recording → Record this call | Master switch for recording. |
| Recording → Mode | Stereo (Dual-Channel) — caller = left, agent = right in one file (recommended; best for review, transcription & sentiment). Also Mono / single-channel. |
| Recording → Record Start | Call Start (includes IVR + queue) or Agent Connect (capture begins only when an agent is bridged in — the IVR/queue wait is not recorded). |
| Recording → Recording disclosure | Play a "this call is being recorded…" prompt, with an editable message. |
| Recording → Require caller confirmation (press 1) | Gate recording on explicit consent — the caller must press 1 to accept (else the flow follows the Consent Declined output). |
| Call-record analytics → Sentiment | High-accuracy tone scoring of the recording after the call. |
| Call-record analytics → Transcription | High-accuracy post-call speech-to-text (included with Sentiment). |
| Real-time analytics → Sentiment | Live tone scoring streamed to the Live Monitor during the call (doesn't need recording). |
| Real-time analytics → Transcription | Live speech-to-text during the call (included with Sentiment). |
| Redaction → PII / PCI redaction | ✅ Available now — mask sensitive data in this call's transcripts: PCI categories (card/CVV) always, and other PII per your Redaction matrix. |
| Next release | Call summary, language detection, and automated QA scoring — 🔜 coming. |
Because recording can be consent-gated, the block exposes Success, Consent Declined, and Error outputs — wire Consent Declined to whatever should happen when a caller refuses (e.g. skip recording and continue, or play a notice).
Set Logging
Enable or disable detailed call logging for this flow.

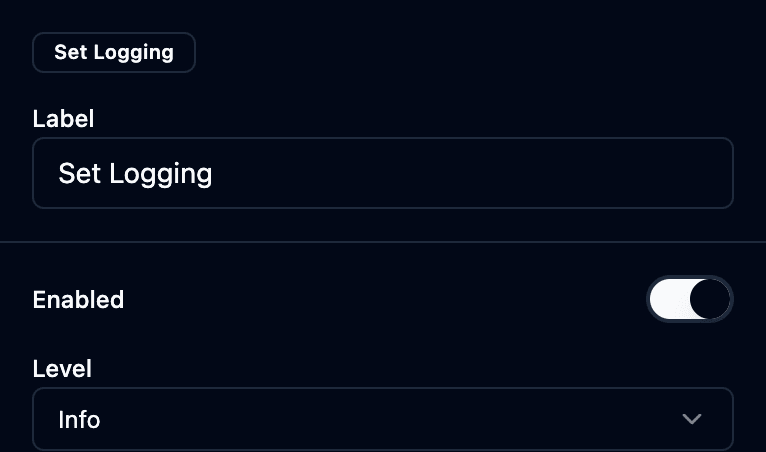
| Field | What it does |
|---|---|
| Enabled | Turn logging on/off. |
| Level | Verbosity (e.g. Info). |
Set Voice
Set the TTS language and voice used by the prompts that follow.

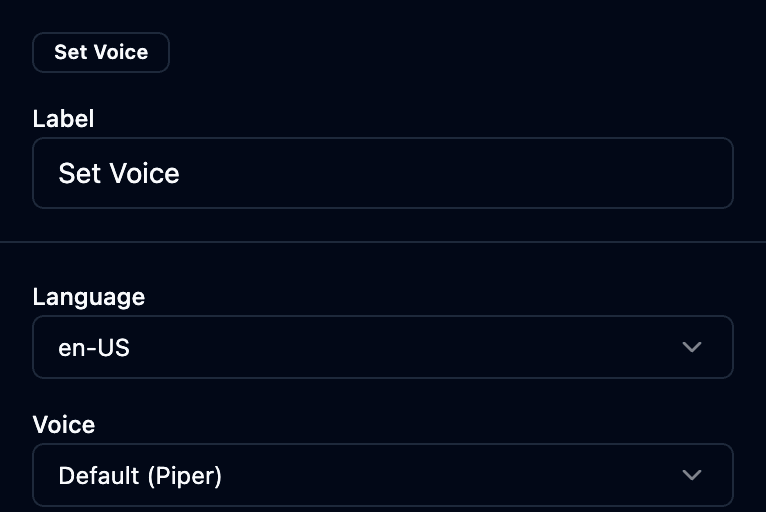
| Field | What it does |
|---|---|
| Language | TTS language for subsequent prompts (e.g. en-US). |
| Voice | TTS voice for subsequent prompts. |
Set Attributes
Store key/value data on the contact, read later by Check Attributes to branch.

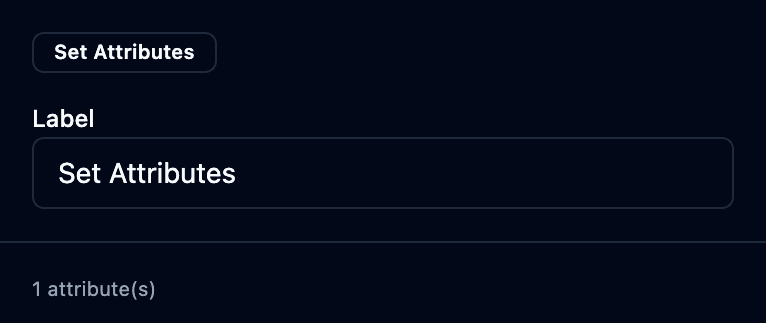
| Field | What it does |
|---|---|
| Attributes | One or more key/value pairs stored on the contact (add as many as you need). |
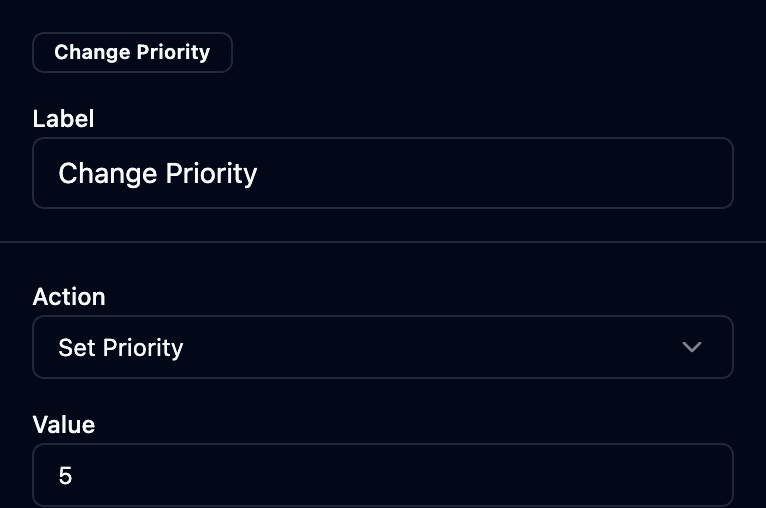
Change Priority
Raise or lower the caller's routing priority.

| Field | What it does |
|---|---|
| Action | What to do — e.g. Set Priority. |
| Value | The priority value to apply. |
Set Whisper / Hold / Queue / Disconnect Flow
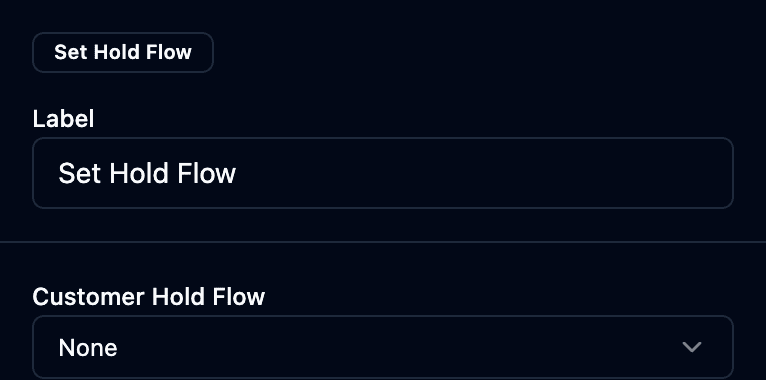
Four blocks that each point at a saved sub-flow for a specific moment of the call.




| Block | Picks the flow for… |
|---|---|
| Set Whisper Flow | what the agent hears just before connect (Agent Whisper Flow). |
| Set Hold Flow | the caller's hold experience (Customer Hold Flow). |
| Set Queue Flow | the in-queue experience (Customer Queue Flow). |
| Set Disconnect Flow | the flow to run when this call disconnects — post-call clean-up / follow-up actions. |
These are different things. Set Disconnect Flow points at a flow that runs when the call disconnects (wrap-up/clean-up). The Agent Disconnect Recovery flow type (§1) is what runs when the agent's leg drops mid-call, to recover the still-connected caller. Build the right one for the moment you mean.
Each has one field — a dropdown to pick a saved flow (or None):
Set Wrap-Up Form
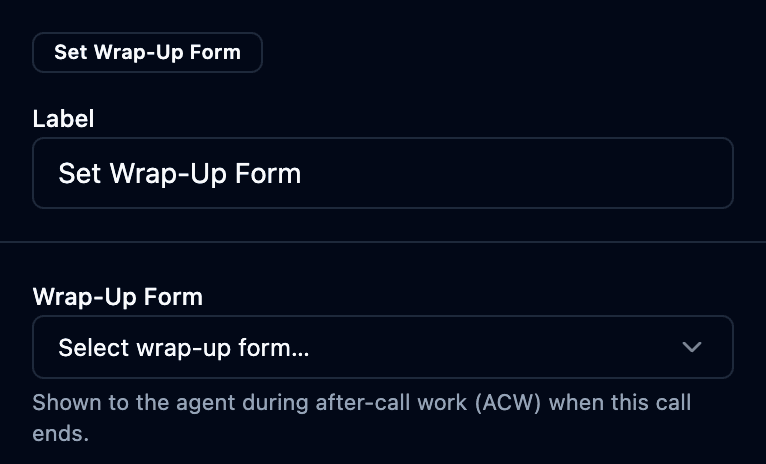
Attach the after-call work (ACW) form the agent fills in when this call ends.
| Field | What it does |
|---|---|
| Wrap-Up Form | The form shown to the agent during wrap-up (managed on the Wrap-Up Forms page). |
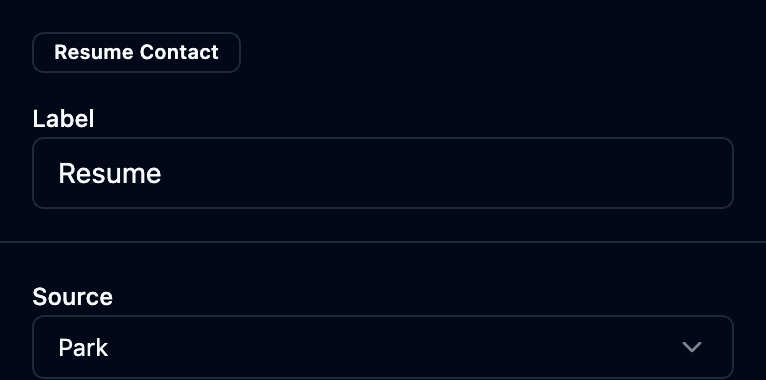
Resume Contact
Resume a contact that was parked or put on hold.

| Field | What it does |
|---|---|
| Source | Where to resume from (e.g. Park). |
🔀 Check — branch on conditions
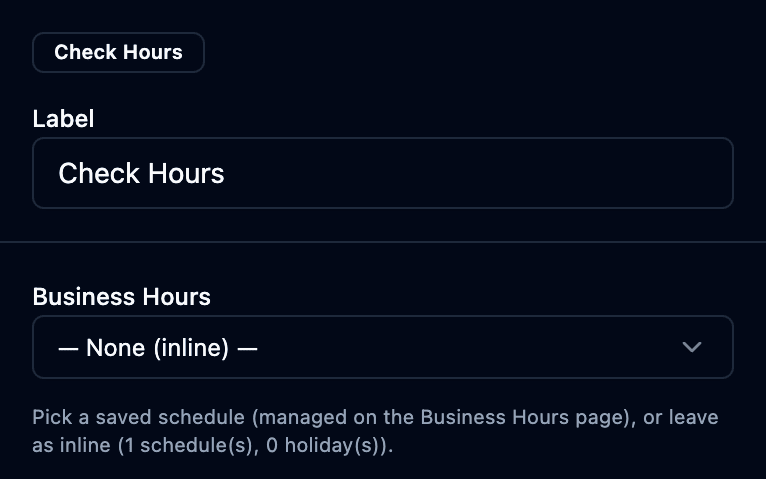
Check Hours
Branch on business hours / holidays.

| Field | What it does |
|---|---|
| Business Hours | Pick a saved schedule (managed on the Business Hours page) or define one inline. |
| Outputs | In Hours, Out of Hours, Holiday, Error. |
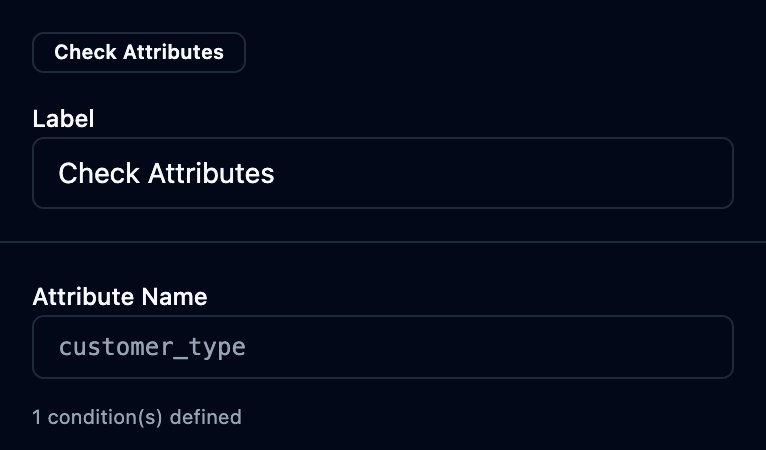
Check Attributes
Branch on a stored contact attribute's value.

| Field | What it does |
|---|---|
| Attribute Name | The contact attribute to test. |
| Conditions | One or more value conditions, each with its own output branch. |
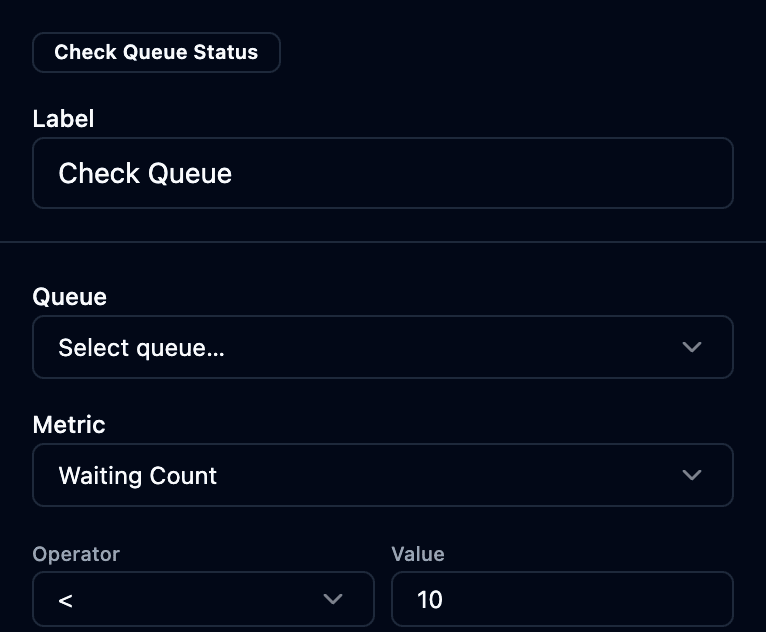
Check Queue Status
Branch on a queue's live metrics (e.g. how many callers are waiting).

| Field | What it does |
|---|---|
| Queue | The queue to inspect. |
| Metric | What to test — e.g. Waiting Count, wait time. |
| Operator / Value | The comparison (e.g. < 5) that decides the branch. |
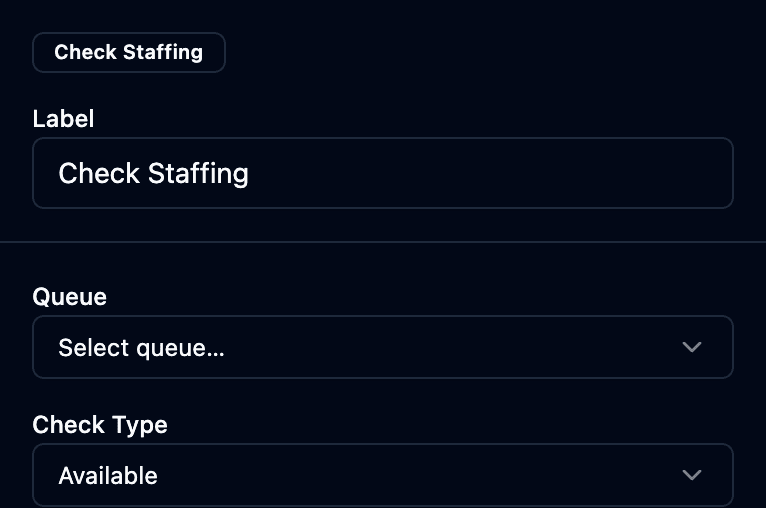
Check Staffing
Branch on whether agents are available.

| Field | What it does |
|---|---|
| Queue | The queue whose agents to check. |
| Check Type | What to require — e.g. Available agents present. |
🧠 Analyze — recording, logging & media analysis
Two of these — Set Recording & Analytics and Set Logging — live in the Analyze palette group (they're documented under Set above for reading flow, but you'll find them here in the editor).
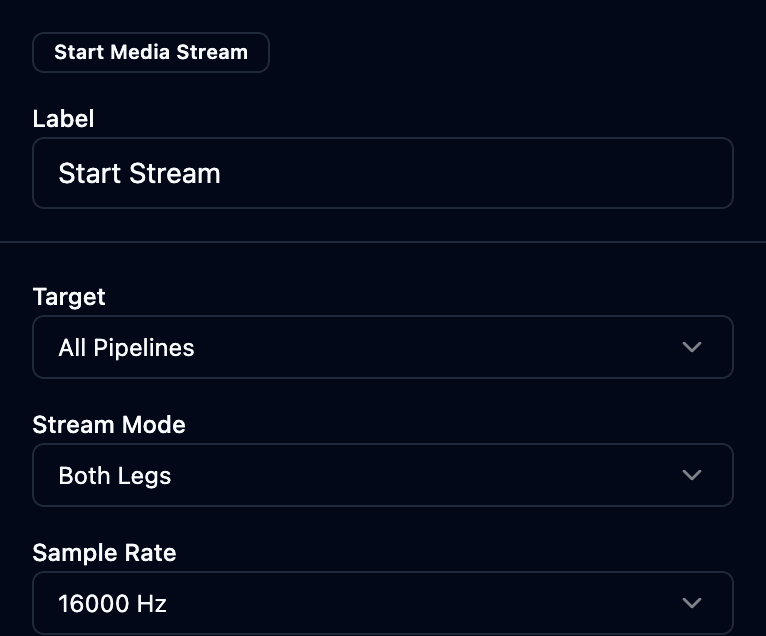
Start Media Stream
Fork the call audio to the AI pipeline (live STT / sentiment).

| Field | What it does |
|---|---|
| Target | Which pipeline(s) to stream to (e.g. All Pipelines). |
| Stream Mode | Which audio — Both Legs, caller only, or agent only. |
| Sample Rate | Audio sample rate (e.g. 16000 Hz). |
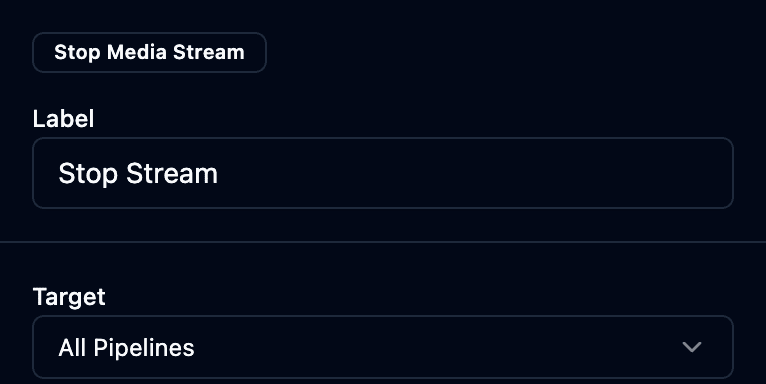
Stop Media Stream
Stop the audio fork started above.

| Field | What it does |
|---|---|
| Target | Which stream(s) to stop (e.g. All Pipelines). |
🔁 Logic — flow control
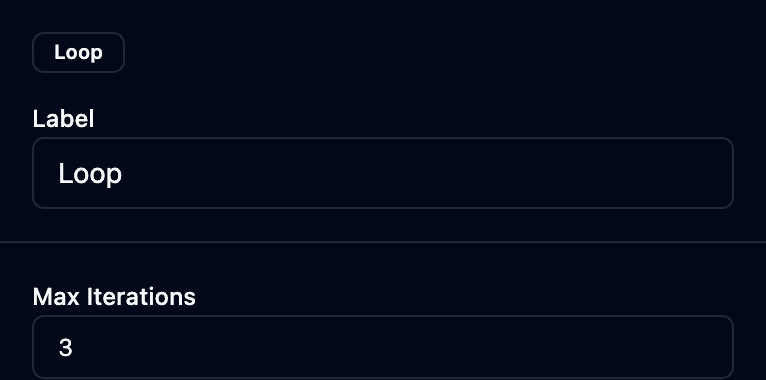
Loop
Repeat a branch a fixed number of times.

| Field | What it does |
|---|---|
| Max Iterations | How many times to repeat before falling through. |
| Outputs | Loop (taken each iteration — wire it to the body you want repeated) and Done (taken after the last iteration — wire it to what comes next). |
Wait
Pause the flow for a set time.

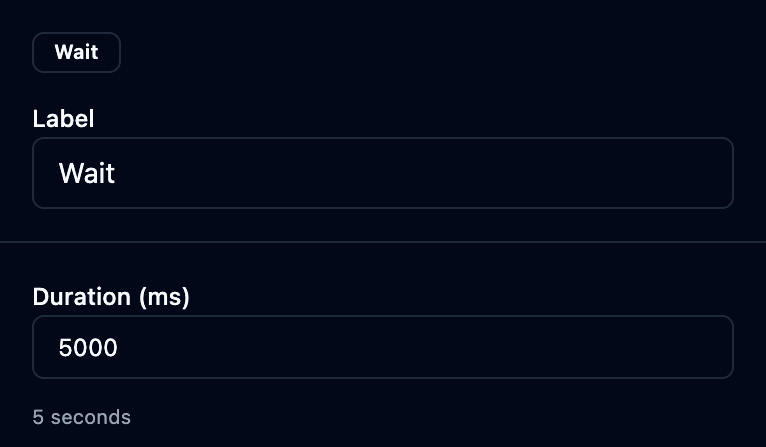
| Field | What it does |
|---|---|
| Duration (ms) | How long to pause (e.g. 5 seconds). |
🔗 Integrate — transfers & AI
Transfer to Queue
Send the caller into the ACD queue chosen by an earlier Set Working Queue.
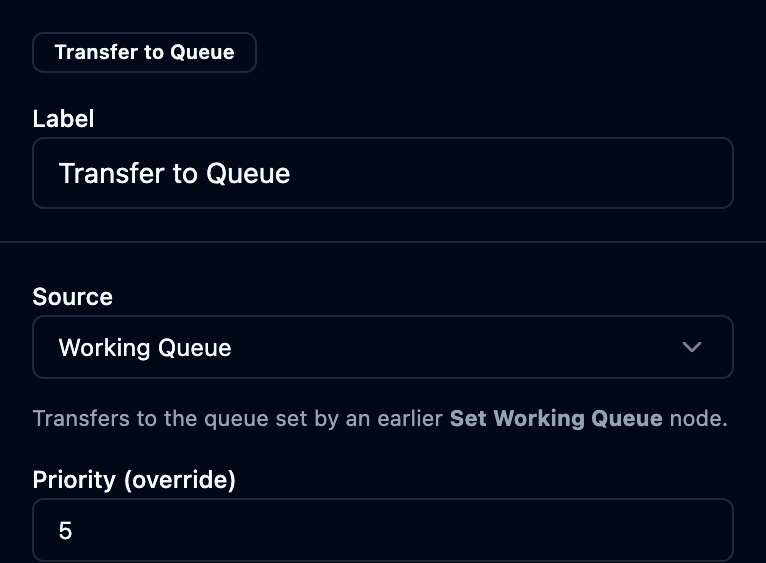
| Field | What it does |
|---|---|
| Source | Working Queue — the queue set earlier by Set Working Queue. |
| Priority (override) | Optionally bump this caller's priority in the queue. |
| Outputs | Success (caller queued/connected) and Failed / Error (no such queue, at capacity) — wire the failure path to a fallback. |
Transfer to Agent
Transfer directly to a specific agent.

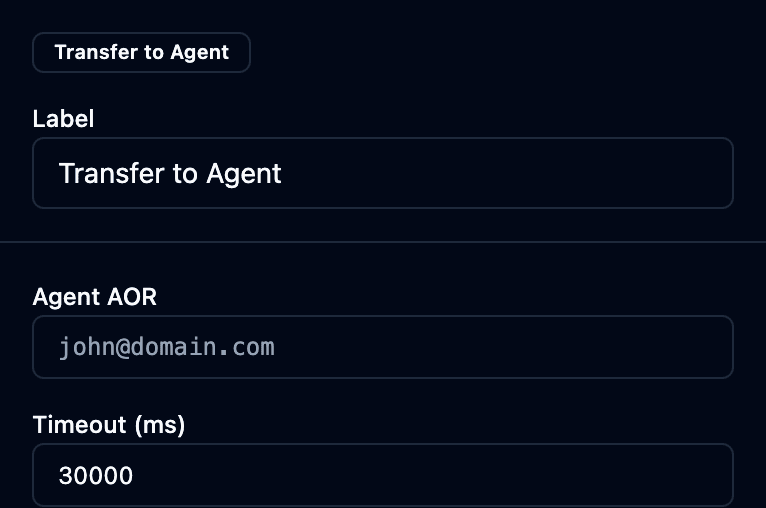
| Field | What it does |
|---|---|
| Agent AOR | The agent's SIP address (address-of-record). |
| Timeout (ms) | How long to ring before giving up. |
| Outputs | Answered, No Answer, and Busy / Failed — always wire No Answer/Failed (e.g. fall back to a queue) so a missed agent doesn't dead-end the call. |
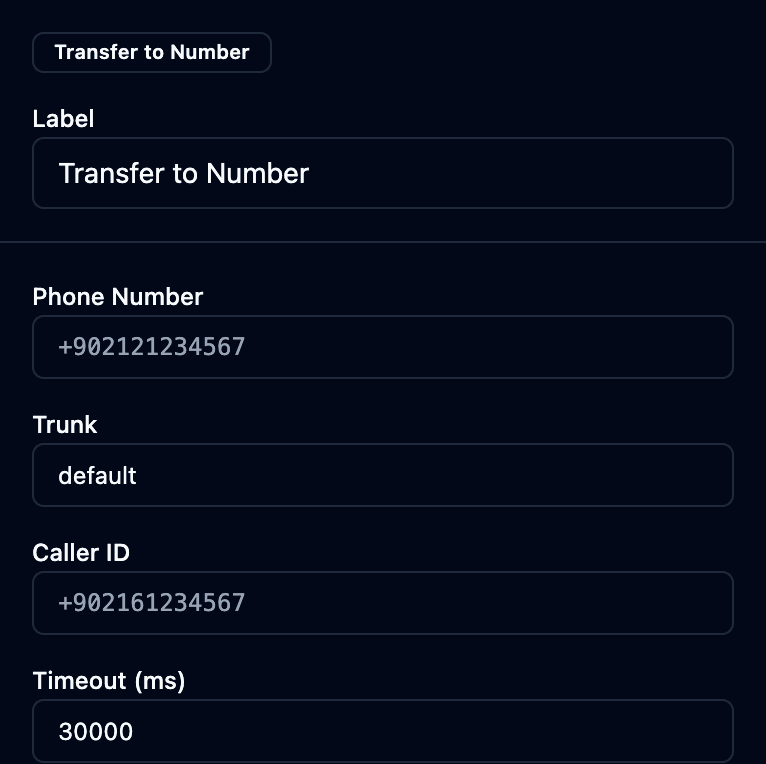
Transfer to Number
Transfer the caller to an external phone number via a trunk.

| Field | What it does |
|---|---|
| Phone Number | The external destination (E.164, e.g. +902121234567). |
| Trunk | Which carrier/trunk carries the outbound leg. |
| Caller ID | The number shown to the called party. |
| Timeout (ms) | How long to wait for an answer. |
| Outputs | Answered, No Answer / Busy, and Failed (no route/trunk error) — wire the non-answer paths to a fallback. |
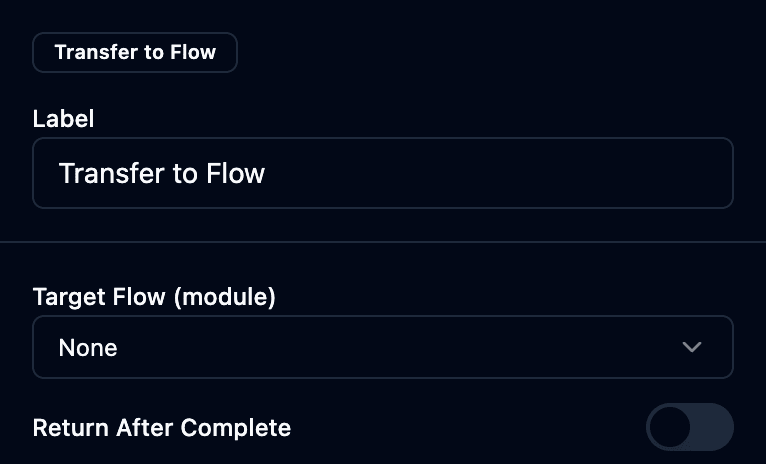
Transfer to Flow
Jump to another flow / reusable module.

| Field | What it does |
|---|---|
| Target Flow (module) | The flow/module to run. |
| Return After Complete | If on, control returns here when the sub-flow finishes (otherwise it takes over). |
AI Assistant — 🔜 Preview
Run a turn-based conversational AI bot, with escalation to a human.
The AI Assistant block is being wired up. The panel below configures it, but it only runs when an AI backend is connected — otherwise it follows its Error output. Treat it as preview until your deployment confirms the AI backend.

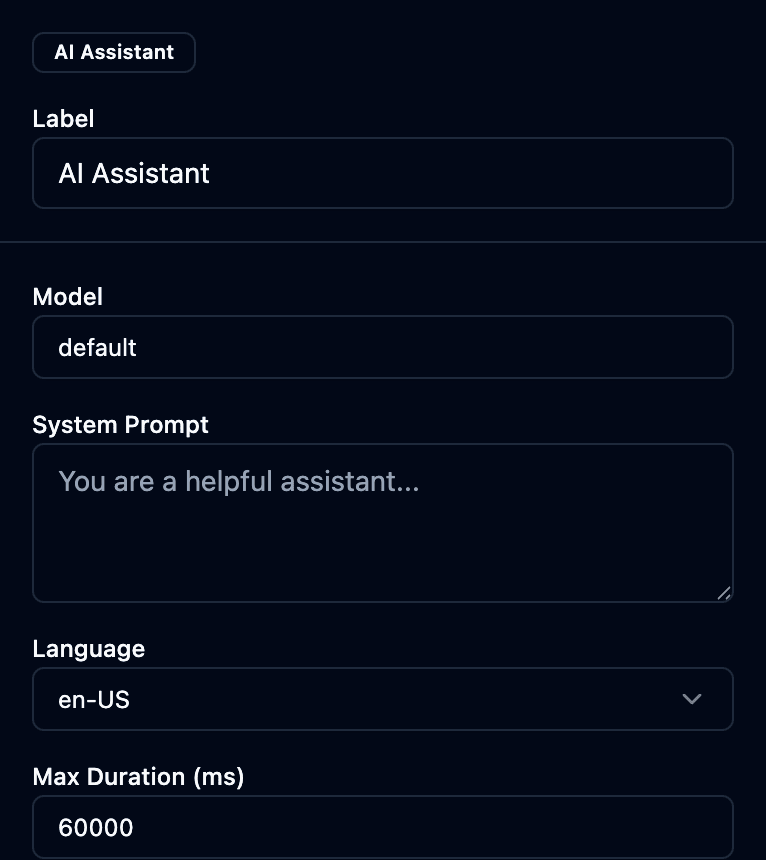
| Field | What it does |
|---|---|
| Model | The AI model that powers the assistant. |
| System Prompt | The instructions that define the bot's behavior and scope. |
| Language | Conversation language (e.g. en-US). |
| Max Duration (ms) | Hard cap on the bot conversation before it escalates/ends. |
| Outputs | Completed, Escalate (hand to a human), Error. |
Under the hood the runtime also honors turn timeout, escalation keywords, and a confidence threshold for auto-escalation.
⏹️ Terminate — end the call
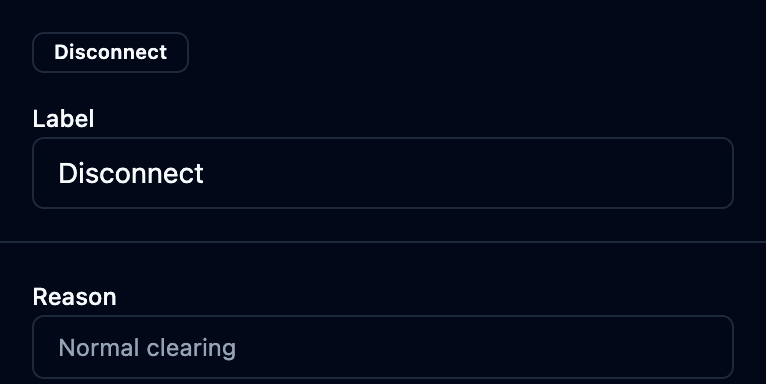
Disconnect
End the call.

| Field | What it does |
|---|---|
| Reason | Optional disconnect reason recorded on the call. |
6. Reusable modules
A module is a mini-flow you build once and reuse across many flows — like "identify the caller", "collect a callback number", or "play the after-hours message". Change the module once and every flow that uses it updates.
Create a module: Routing → Call Flows → Create Flow → set the type to Module → build the shared logic → Publish.
Use a module in a flow: add a Transfer to Flow block → pick your published module → enable Return After Complete if the call should continue in the parent flow afterward (otherwise the module takes over).
If you find yourself building the same 3–4 blocks in more than one flow (a greeting, an authentication step, a disclosure), pull it into a module. It's less to maintain and impossible to get out of sync.
7. Limitations & gotchas
Know these before you publish:
- Wire every Error/Timeout output. An unconnected Error output just stops that branch. Always give errors a path (a "sorry" prompt → Disconnect, or a fallback queue).
- You must Publish. Saving isn't enough — a flow only affects live calls after Publish, and a phone number must point at it (Telephony).
- Some blocks are preview / partial: AI Assistant needs an AI backend wired (§Integrate), and Capture Speech's properties panel isn't built yet. Test them in your deployment before relying on them.
- Answering-machine detection (AMD) applies to outbound calls (campaign dialing), not to inbound flows.
- Card data: only Secure Input (PCI) masks the recording during entry. Using plain Get/Store Customer Input for a card number will capture it in the recording.
- Validate before publishing. The editor's Validate catches unreachable blocks, missing wires, and misconfigured fields — the status bar shows errors/warnings.
8. Variables, conditions & error handling
A few cross-cutting rules every flow author should know:
- Variables. Store Customer Input and Capture Speech write a named variable; Check Attributes reads contact attributes to branch. Use a clear Variable Name and reference it in later blocks/conditions. (Your admin or integrator can confirm the exact interpolation syntax for your deployment.)
- Every block has Timeout / Error outputs. Wire them. A block whose Error output is left unconnected will simply stop that branch — always give errors a path (e.g. a "sorry" prompt → Disconnect, or a fallback queue).
- Unknown / unconfigured steps fall through. If a step can't run, the engine follows its success path rather than crashing the call — so test your flow with Validate before publishing.
- Sub-flows (modules). Transfer to Flow with Return After Complete runs a reusable module and comes back; without it, the module takes over the call.